96 lines
5.2 KiB
Markdown
96 lines
5.2 KiB
Markdown
# Unitree RL GYM
|
|
|
|
This is a simple example of using Unitree Robots for reinforcement learning, including Unitree Go2, H1, H1_2, G1
|
|
|
|
| Isaac Gym | Mujoco | Physical |
|
|
|--- | --- | --- |
|
|
| [<img src="https://oss-global-cdn.unitree.com/static/32f06dc9dfe4452dac300dda45e86b34.GIF" width="240px">](https://oss-global-cdn.unitree.com/static/5bbc5ab1d551407080ca9d58d7bec1c8.mp4) | [<img src="https://oss-global-cdn.unitree.com/static/244cd5c4f823495fbfb67ef08f56aa33.GIF" width="240px">](https://oss-global-cdn.unitree.com/static/5aa48535ffd641e2932c0ba45c8e7854.mp4) | [<img src="https://oss-global-cdn.unitree.com/static/78c61459d3ab41448cfdb31f6a537e8b.GIF" width="240px">](https://oss-global-cdn.unitree.com/static/0818dcf7a6874b92997354d628adcacd.mp4) |
|
|
|
|
## 1. Installation
|
|
|
|
1. Create a new python virtual env with python 3.8
|
|
|
|
2. Install pytorch 2.3.1 with cuda-12.1:
|
|
|
|
```bash
|
|
pip install torch==2.3.1 torchvision==0.18.1 torchaudio==2.3.1 --index-url https://download.pytorch.org/whl/cu121
|
|
```
|
|
3. Install Isaac Gym
|
|
|
|
- Download and install Isaac Gym Preview 4 from [https://developer.nvidia.com/isaac-gym](https://developer.nvidia.com/isaac-gym)
|
|
- `cd isaacgym/python && pip install -e .`
|
|
- Try running an example `cd examples && python 1080_balls_of_solitude.py`
|
|
- For troubleshooting check docs isaacgym/docs/index.html
|
|
4. Install rsl_rl (PPO implementation)
|
|
|
|
- Clone [https://github.com/leggedrobotics/rsl_rl](https://github.com/leggedrobotics/rsl_rl)
|
|
- `cd rsl_rl && git checkout v1.0.2 && pip install -e .`
|
|
|
|
5. Install unitree_rl_gym
|
|
|
|
- Navigate to the folder `unitree_rl_gym`
|
|
- `pip install -e .`
|
|
|
|
6. Install unitree_sdk2py (Optional for deploy on real robot)
|
|
|
|
- Clone [https://github.com/unitreerobotics/unitree_sdk2_python](https://github.com/unitreerobotics/unitree_sdk2_python)
|
|
- `cd unitree_sdk2_python & pip install -e .`
|
|
|
|
## 2. Train in Isaac Gym
|
|
|
|
1. Train:
|
|
`python legged_gym/scripts/train.py --task=go2`
|
|
|
|
* To run on CPU add following arguments: `--sim_device=cpu`, `--rl_device=cpu` (sim on CPU and rl on GPU is possible).
|
|
* To run headless (no rendering) add `--headless`.
|
|
* **Important** : To improve performance, once the training starts press `v` to stop the rendering. You can then enable it later to check the progress.
|
|
* The trained policy is saved in `logs/<experiment_name>/<date_time>_<run_name>/model_<iteration>.pt`. Where `<experiment_name>` and `<run_name>` are defined in the train config.
|
|
* The following command line arguments override the values set in the config files:
|
|
* --task TASK: Task name.
|
|
* --resume: Resume training from a checkpoint
|
|
* --experiment_name EXPERIMENT_NAME: Name of the experiment to run or load.
|
|
* --run_name RUN_NAME: Name of the run.
|
|
* --load_run LOAD_RUN: Name of the run to load when resume=True. If -1: will load the last run.
|
|
* --checkpoint CHECKPOINT: Saved model checkpoint number. If -1: will load the last checkpoint.
|
|
* --num_envs NUM_ENVS: Number of environments to create.
|
|
* --seed SEED: Random seed.
|
|
* --max_iterations MAX_ITERATIONS: Maximum number of training iterations.
|
|
2. Play:`python legged_gym/scripts/play.py --task=go2`
|
|
|
|
* By default, the loaded policy is the last model of the last run of the experiment folder.
|
|
* Other runs/model iteration can be selected by setting `load_run` and `checkpoint` in the train config.
|
|
|
|
### 2.1 Play Demo
|
|
|
|
| Go2 | G1 | H1 | H1_2 |
|
|
|--- | --- | --- | --- |
|
|
| [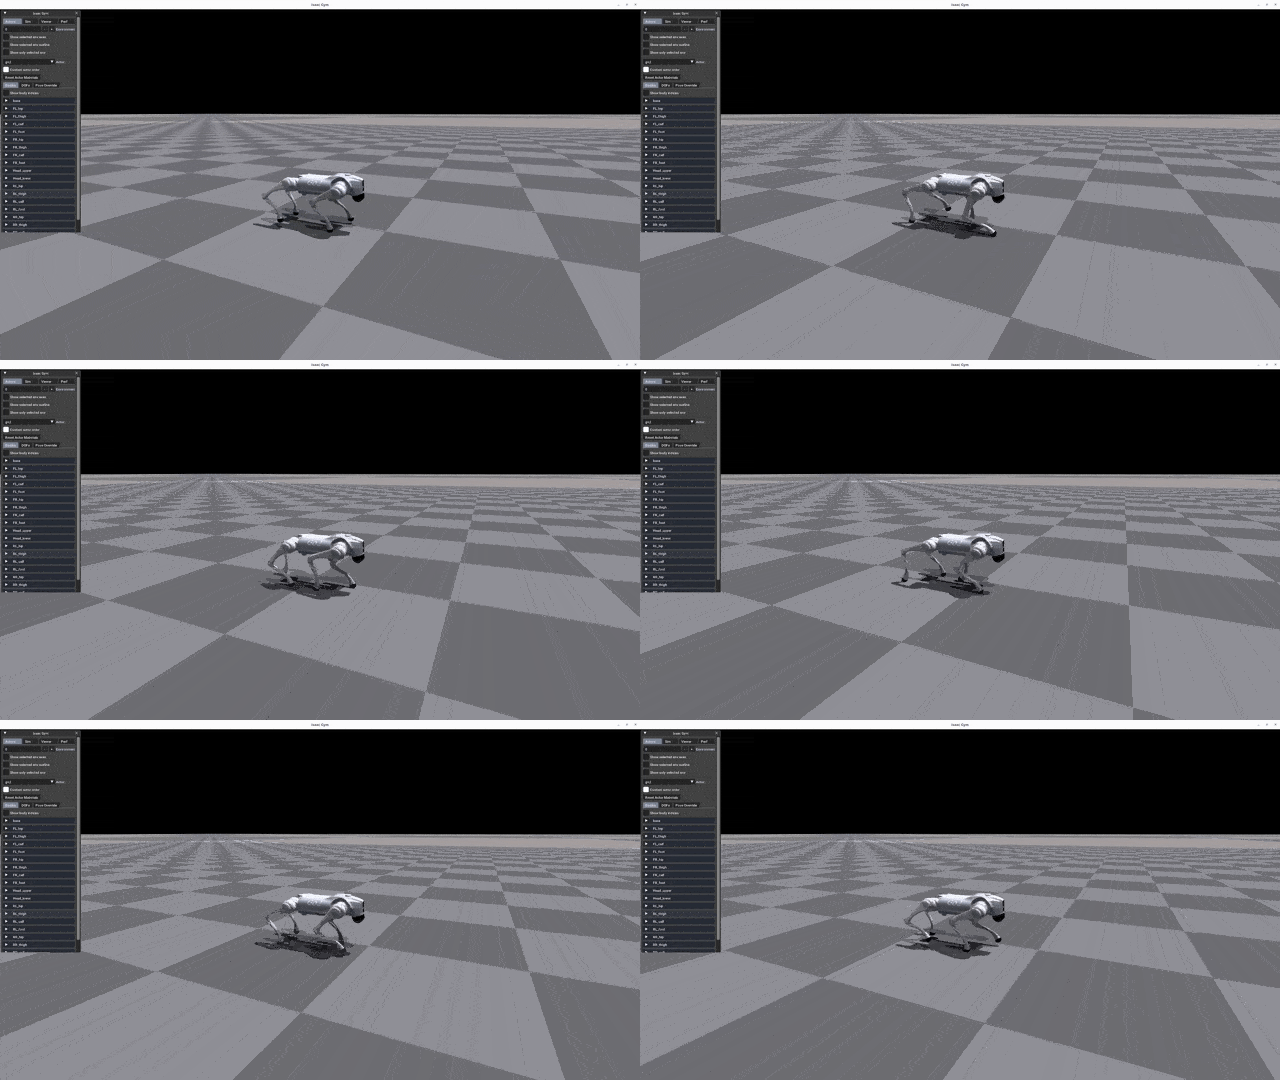](https://oss-global-cdn.unitree.com/static/d2e8da875473457c8d5d69c3de58b24d.mp4) | [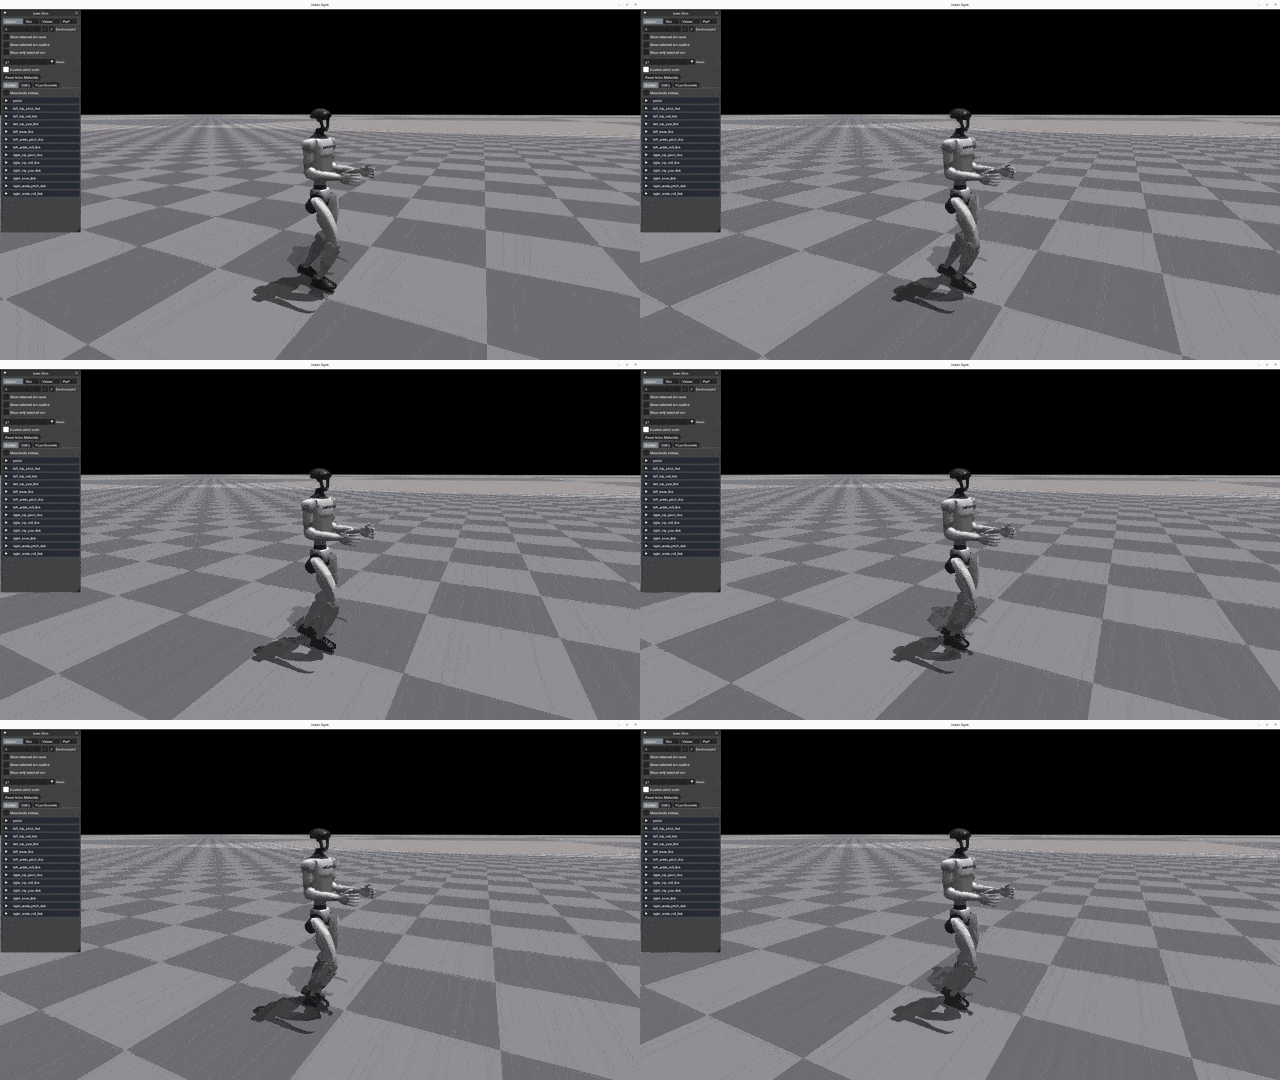](https://oss-global-cdn.unitree.com/static/5bbc5ab1d551407080ca9d58d7bec1c8.mp4) | [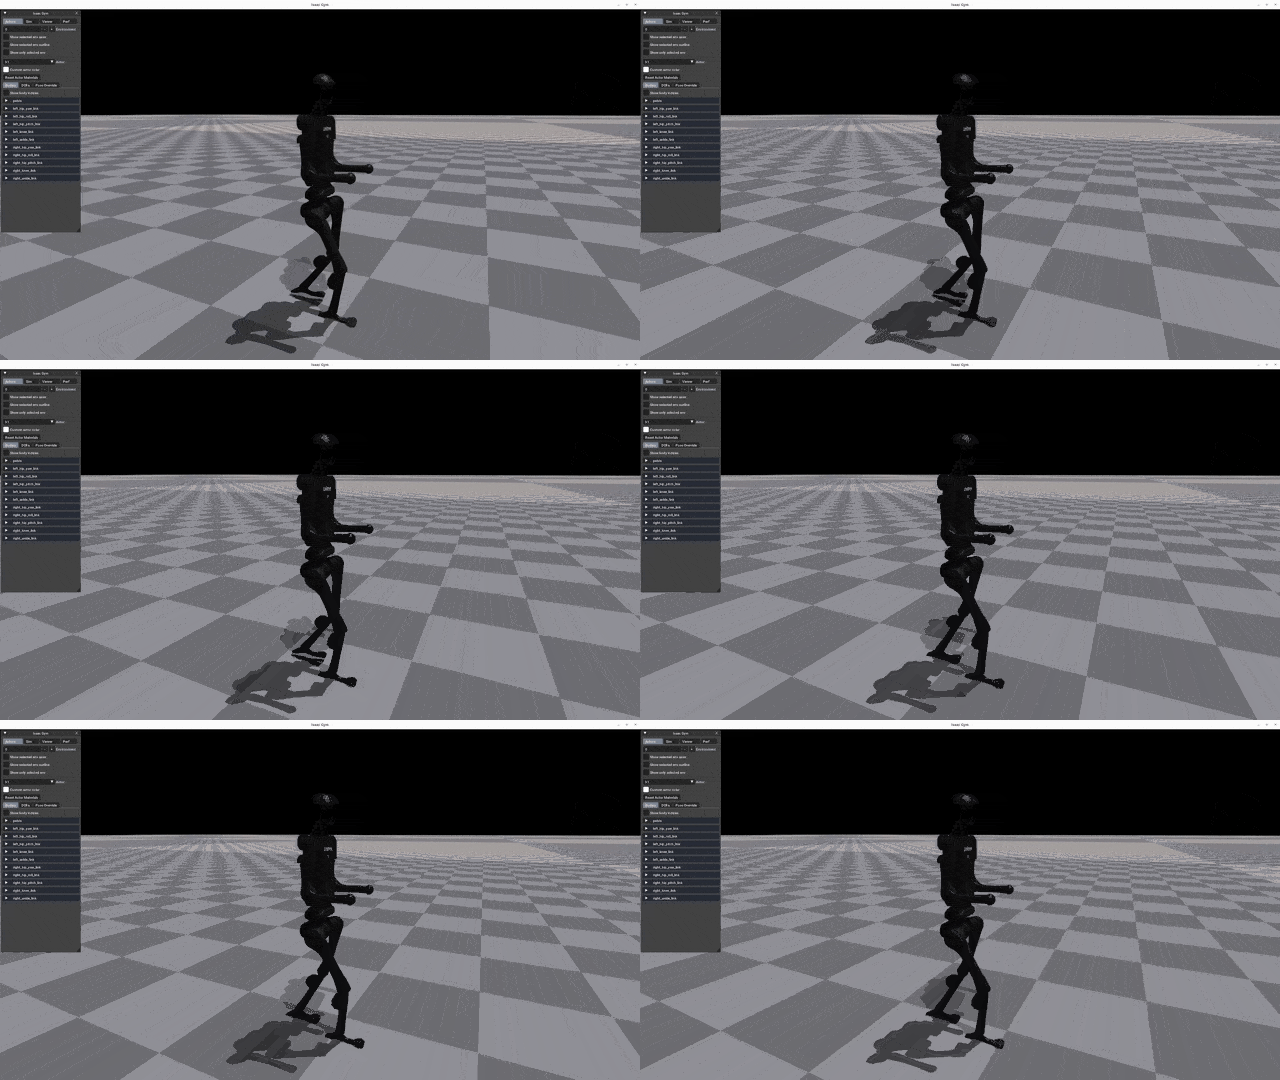](https://oss-global-cdn.unitree.com/static/522128f4640c4f348296d2761a33bf98.mp4) |[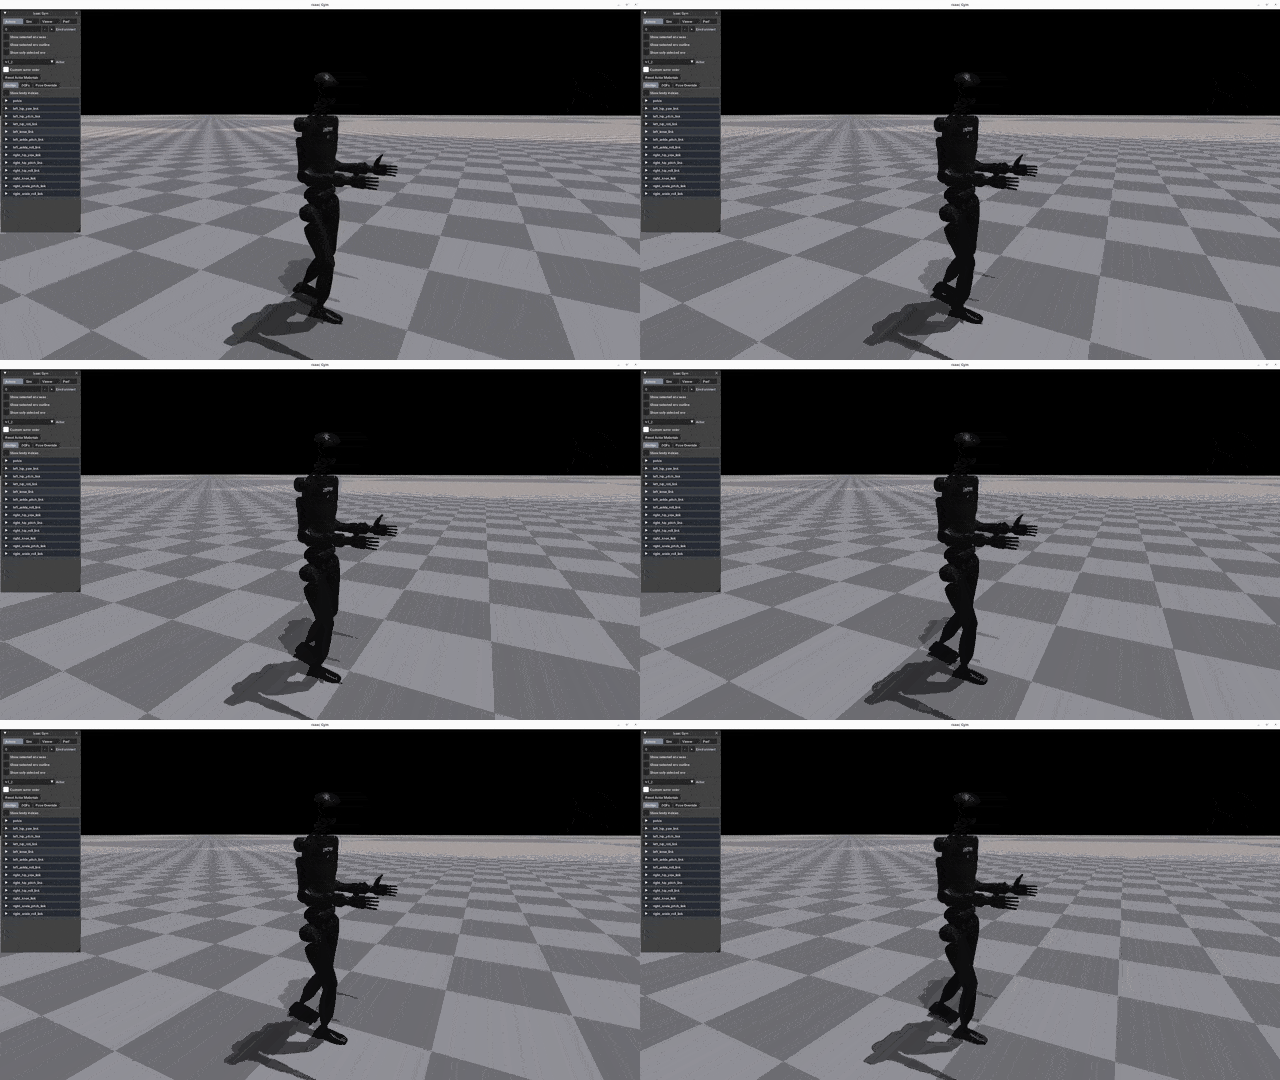](https://oss-global-cdn.unitree.com/static/15fa46984f2343cb83342fd39f5ab7b2.mp4)|
|
|
|
|
## 3. Sim in Mujoco
|
|
|
|
### 3.1 Mujoco Usage
|
|
|
|
To execute sim2sim in mujoco, execute the following command:
|
|
|
|
```bash
|
|
python deploy/deploy_mujoco/deploy_mujoco.py {config_name}
|
|
```
|
|
|
|
`config_name`: The file name of the configuration file. The configuration file will be found under `deploy/deploy_mujoco/configs/`, for example `g1.yaml`, `h1.yaml`, `h1_2.yaml`.
|
|
|
|
**example**:
|
|
|
|
```bash
|
|
python deploy/deploy_mujoco/deploy_mujoco.py g1.yaml
|
|
```
|
|
|
|
### 3.2 Mujoco Demo
|
|
|
|
| G1 | H1 | H1_2 |
|
|
|--- | --- | --- |
|
|
| [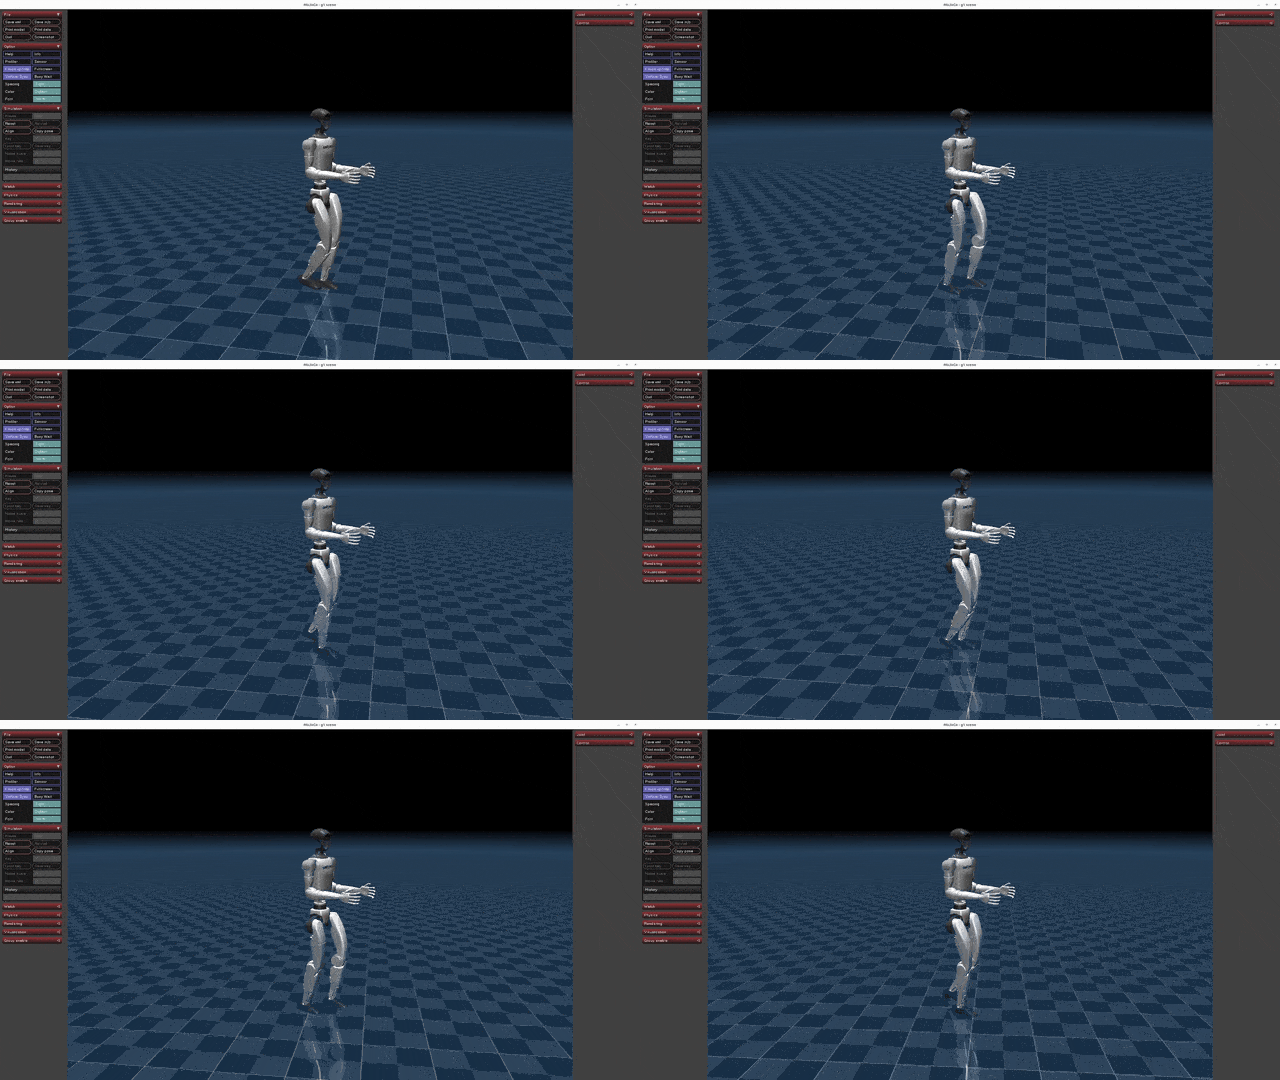](https://oss-global-cdn.unitree.com/static/5aa48535ffd641e2932c0ba45c8e7854.mp4) | [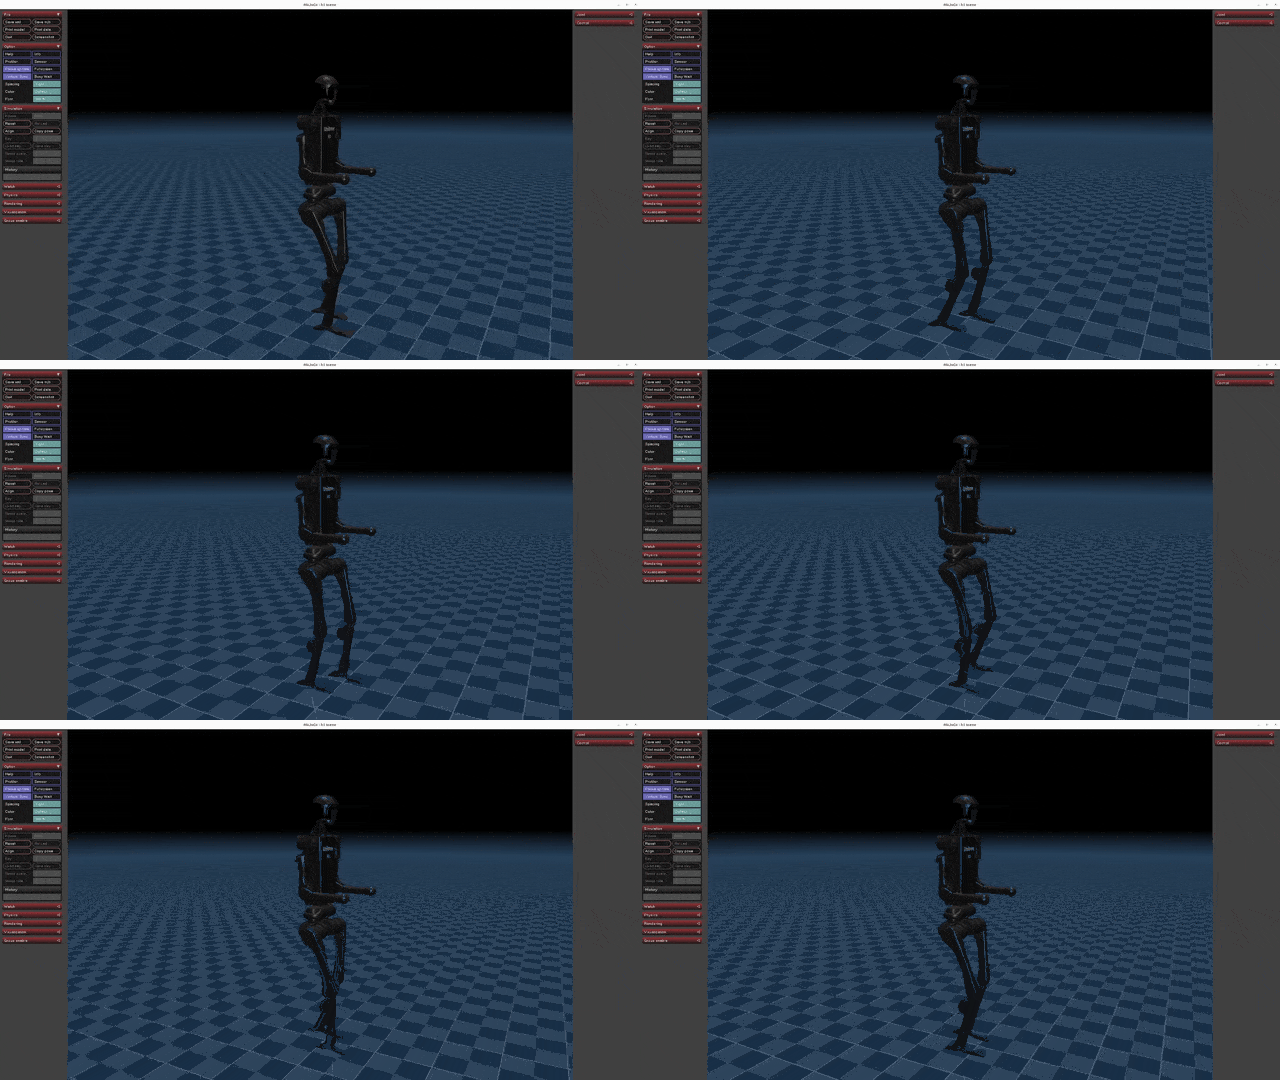](https://oss-global-cdn.unitree.com/static/8934052becd84d08bc8c18c95849cf32.mp4) | [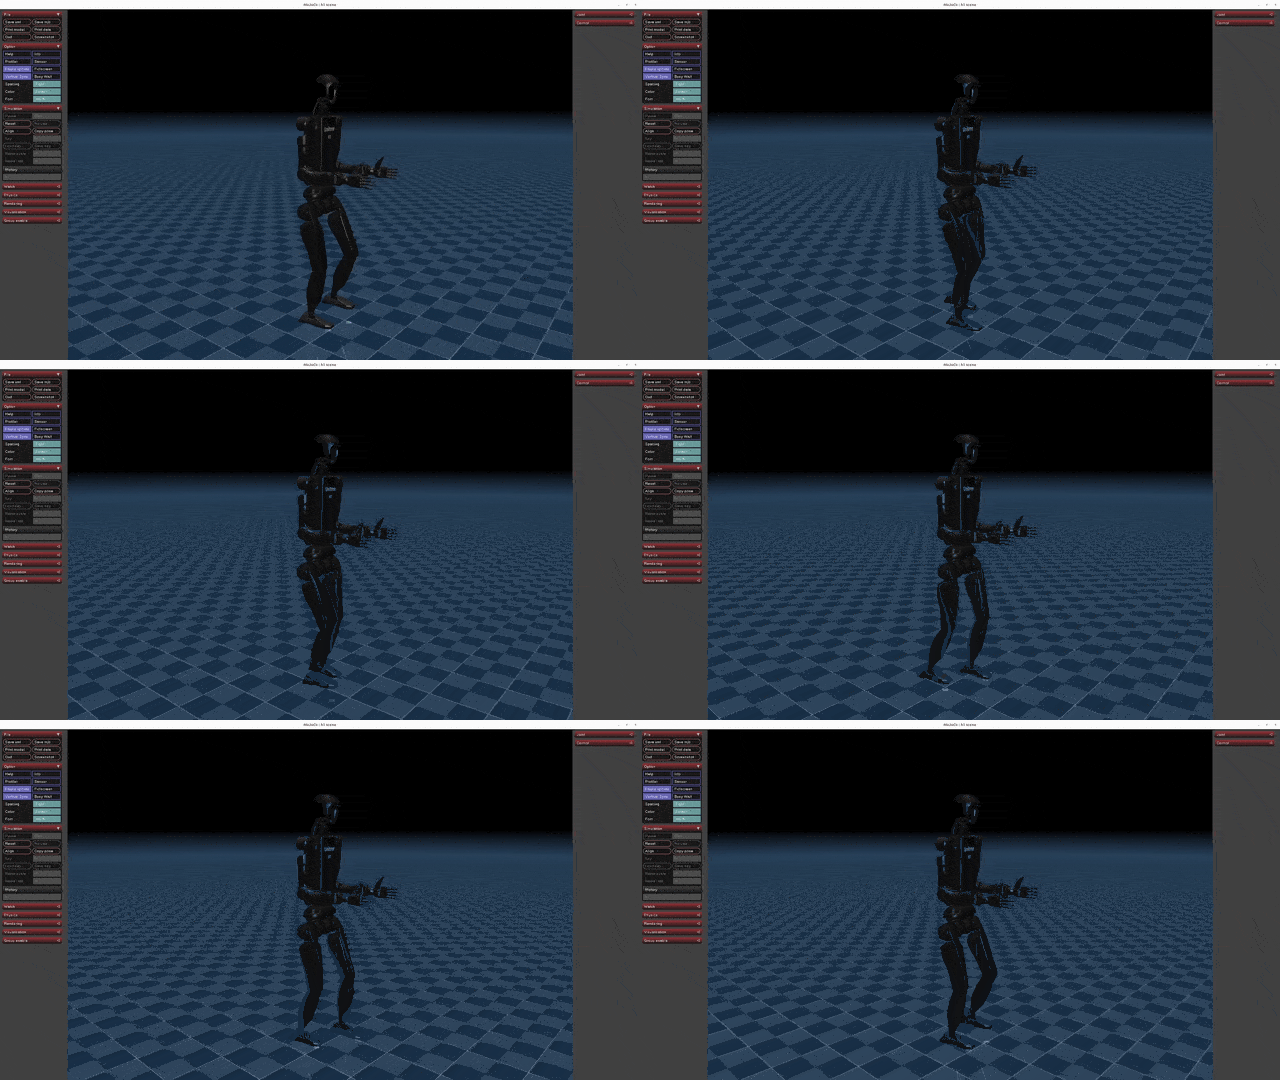](https://oss-global-cdn.unitree.com/static/ee7ee85bd6d249989a905c55c7a9d305.mp4) |
|
|
|
|
## 4. Deploy on Physical Robot
|
|
|
|
reference to [Deploy on Physical Robot(English)](deploy/deploy_real/README.md) | [实物部署(简体中文)](deploy/deploy_real/README.zh.md)
|